Best eSIM iPhone Travel Guide (2026): Setup, Coverage & Plans
Learn how to choose and set up the best eSIM for iPhone travel in 2026. Compare plans, check coverage, install easily, and avoid common mistakes.
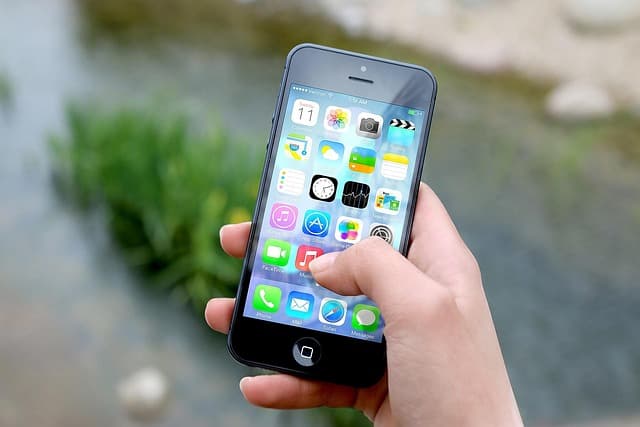
Choosing the right eSIM iPhone plan can make or break your travel connectivity. Whether you're a frequent flyer or planning your first international trip, understanding coverage, setup, and limitations is essential. This guide helps you decide with confidence.
What Is an eSIM and Why It Matters for iPhone Travelers
An eSIM is a digital SIM that lets you activate a cellular plan without a physical SIM card. On iPhone models from XS onward, you can store multiple eSIMs and switch between them in Settings. For travelers, this means you can buy a local data plan before you land, avoid roaming fees, and keep your home number active.
How to Check If Your iPhone Supports eSIM
Most iPhones released after 2018 support eSIM, but not all carriers in every country offer eSIM activation. To check your model, go to Settings > General > About and look for an “EID” number. If you see it, your iPhone is eSIM-capable. You can also check device compatibility for a quick reference.
Choosing the Best eSIM Plan for Your Trip
Before buying, consider these factors:
- Destination coverage: Some plans cover one country, while others include multiple regions.
- Data amount and speed: Look for plans with enough high-speed data for your needs.
- Validity period: Match the plan duration to your travel dates.
- Price and hidden fees: Compare total cost, not just the advertised rate.
- Customer support: Reliable help is crucial if you encounter issues abroad.
You can browse all eSIM plans to see what’s currently available. Always read the fine print for fair usage policies and throttling thresholds.
Step-by-Step eSIM Setup on iPhone
Installing an eSIM on your iPhone usually takes less than five minutes. Here’s the typical process:
- Purchase a plan from a trusted provider and receive a QR code or activation details.
- Open Settings > Cellular > Add eSIM.
- Scan the QR code or enter details manually.
- Label your eSIM (e.g., “Travel Data”) and choose default line preferences.
- Turn on data roaming for the new eSIM, but keep your primary line off for data if you want to avoid roaming charges.
For a detailed walkthrough, see how to install an eSIM.
Common Mistakes to Avoid with Travel eSIMs
- Not checking compatibility before purchase: Some carrier-locked iPhones may not accept eSIMs from other providers.
- Forgetting to turn on data roaming for the eSIM: Many travelers mistakenly leave it off, resulting in no connection.
- Using the wrong line for data: If both your home SIM and travel eSIM are active, you might accidentally use expensive roaming data.
- Ignoring APN settings: Some eSIMs require manual APN configuration; check provider instructions.
- Waiting until arrival to set up: Install and test your eSIM before departure to resolve issues with Wi-Fi.
Comparing Typical eSIM Plans for iPhone
Plan structures vary widely. Below is a general comparison based on common offerings, not specific prices.
| Feature | Single-Country Plan | Regional Plan | Global Plan |
|---|---|---|---|
| Coverage | One country | Multiple nearby countries (e.g., Europe) | Many countries worldwide |
| Data flexibility | Often generous for one destination | Shared data pool across region | Lower data per country but broad access |
| Ideal for | Single-destination trips | Multi-country tours | Constant travelers or last-minute changes |
| Cost efficiency | Usually cheapest per GB | Better value than buying separate plans | Convenience over price |
Prices change frequently and depend on provider and data amount. Always verify current rates before purchase.
Troubleshooting Common eSIM iPhone Issues
If your eSIM isn’t working, try these steps:
- Restart your iPhone.
- Toggle Airplane Mode on and off.
- Ensure data roaming is enabled for the eSIM.
- Check if the eSIM is active in Settings > Cellular.
- Reinstall the eSIM if you have a new QR code.
- Contact your eSIM provider’s support, as some issues are network-specific.
Most providers offer 24/7 chat support for quick troubleshooting.
Frequently Asked Questions
Can I use an eSIM and a physical SIM at the same time on iPhone?
Yes, iPhone models with eSIM support can use dual SIM functionality. You can have one physical SIM and one or more eSIMs active simultaneously, choosing which line to use for data and calls.
Will my iPhone battery drain faster with an eSIM?
An eSIM uses the same radio as a physical SIM, so battery impact is minimal. However, if your phone constantly searches for networks in poor coverage areas, battery drain may increase.
Can I delete an eSIM after my trip?
Yes, you can remove an eSIM profile in Settings > Cellular by selecting the plan and choosing “Remove Cellular Plan.” This does not affect your physical SIM.
Do I need to unlock my iPhone to use a travel eSIM?
If your iPhone is carrier-locked, it may only accept eSIMs from that carrier. Contact your carrier to unlock it before traveling. Most unlocked iPhones work with any eSIM provider.
Can I keep my home number active while using a travel eSIM?
Yes, you can keep your primary line active for calls and texts while using the travel eSIM for data. Set the travel eSIM as the default data line and disable data roaming on your primary line to avoid charges.
Ready to find the right plan? Browse all eSIM plans and stay connected on your next trip.
Travel connected
Choose your destination and compare eSIM plans
Get digital delivery, transparent validity, and plan details before you travel.